
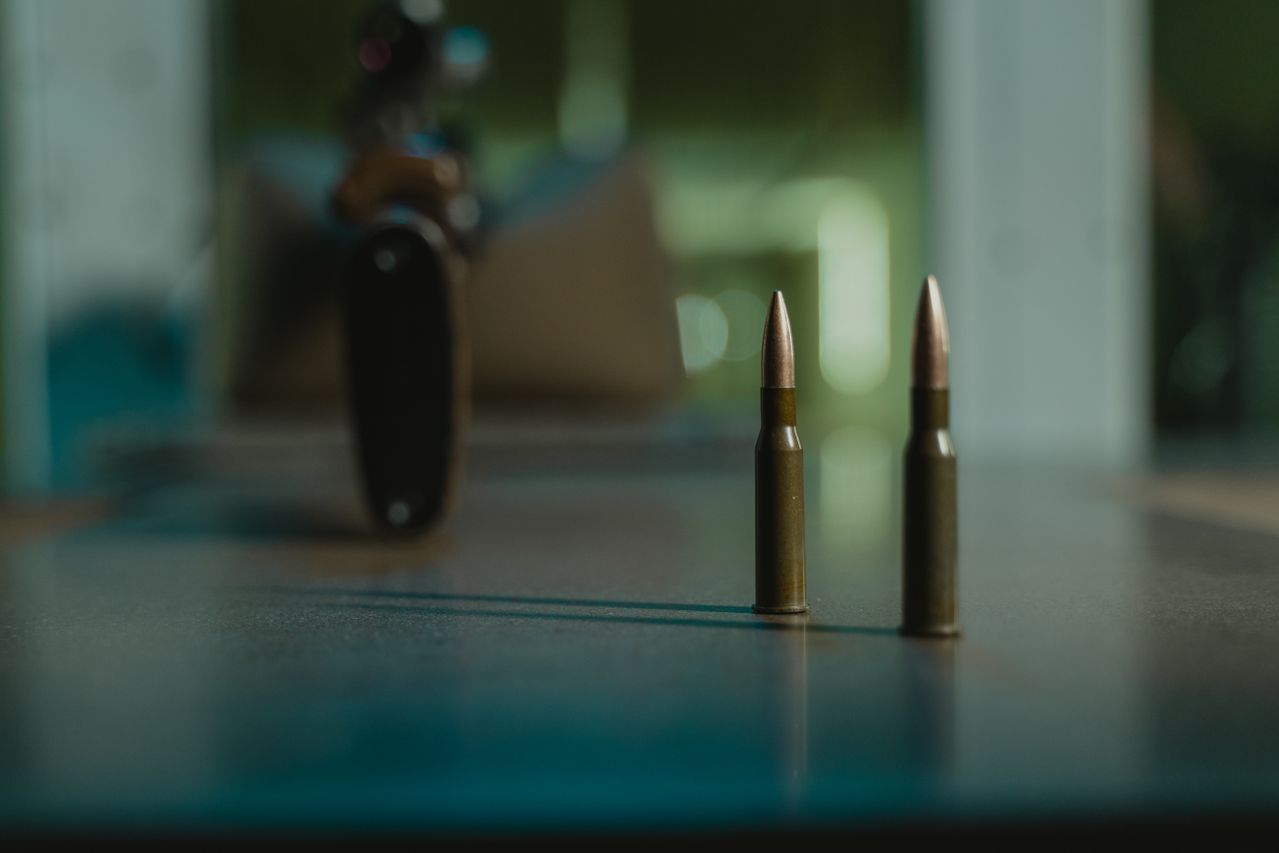
An ammunition range bag checklist helps prevent two common problems: bringing the wrong product and discovering the mistake at the firing line. The checklist does not need to be elaborate. It should confirm firearm compatibility, facility approval, product condition, quantity, and secure transport. When ammunition remains organized and identifiable, check-in becomes easier and range staff can answer questions with actual information instead of a description that begins with “the box was red.”
Review the Range Rules
Check the facility’s current ammunition policy for the lane and activity you booked. Look for restrictions on caliber, gauge, load type, projectile material, or outside ammunition. Contact the range if any wording remains unclear.
Use the exact product name when asking. Do not rely on a previous visit with different ammunition. Policies, lane assignments, and events can change, so a quick confirmation belongs on every unfamiliar range plan.
Match Ammunition to the Firearm
Read the firearm markings and owner’s manual. Confirm caliber or gauge, shell or cartridge specifications, and any manufacturer warnings. If information conflicts or cannot be read, stop and seek qualified guidance.
Never use the fact that ammunition fits into a magazine or chamber as a compatibility test. Correct selection happens before the range bag is packed. Physical fit alone does not establish that a product is safe or appropriate.
Keep the Original Labels
Bring ammunition in clearly labeled original packaging whenever practical. The box identifies the product, quantity, and lot. Range staff may need that information during inspection, and you may need it if a product question arises.
Avoid mixing different loads in one container. If you use an approved organizer, retain the corresponding box information and keep products separated. “They looked the same under the garage light” is not a reliable identification system.
Inspect the Packaging
Check boxes for water damage, crushing, open seams, or contamination. Inspect ammunition only as the manufacturer directs, without unnecessary handling. Set aside anything damaged, corroded, wet, or questionable and contact the manufacturer for guidance.
Do not bring suspect ammunition to the range for staff to “try.” A range visit is not a product diagnostic session. Keep the lot information and purchase record, and follow the appropriate support process.
Pack a Realistic Quantity
Estimate the amount required for the planned session and instruction. Bringing more ammunition does not automatically improve the visit. Extra weight, mixed products, and pressure to use everything can make the day less organized.
For a first session or structured class, ask the instructor what quantity and product the facility recommends. Red Star’s first range session guide can help frame the schedule, while the instructor gives the final session-specific advice.
Separate Different Products
Use distinct compartments or containers for different loads, and keep labels visible. If more than one firearm will be present, organize ammunition so users cannot confuse the products. Review the arrangement before departure.
At the range, place only the ammunition approved for the current activity at the firing point, subject to facility rules. Keep other products secured and separate. Simple organization reduces distraction when instructions begin.
Follow Transport Requirements
Comply with federal, state, local, carrier, and facility rules that apply to firearm and ammunition transport. Use suitable secure containers and keep unauthorized people from gaining access. Requirements can vary by location, so verify them through appropriate sources.
Do not leave ammunition visible or unattended in a vehicle. Plan stops and arrival so equipment moves from secure storage to the approved range process without unnecessary delay. Responsible transport is part of range preparation, not a task that begins in the parking lot.
Add Supporting Items
Carry required identification, reservation information, eye and hearing protection, and any facility documents. Bring the firearm manual or a digital copy if you may need to confirm a model-specific detail. Keep unrelated tools out of the bag unless the range or instructor recommends them.
Review the shotgun range packing guide for a broader equipment check. The ammunition portion should remain easy to inspect and explain. A bag that takes ten minutes to unpack probably needs fewer surprises.
Count and Repack Before Leaving
At the end of the session, follow all range commands and confirm that equipment and remaining ammunition are accounted for. Keep unused products in their correct labeled boxes. Inspect the area for personal items only when staff permit.
Use the ammunition check before range day as a repeatable routine. An ammunition range bag checklist works because it is simple: verify, label, separate, secure, and follow the range’s process every time.